Easy Lemon Ice Cream: Your Ultimate Summer Dessert
As the days grow longer and the sun shines brighter, our cravings naturally turn towards cool, refreshing treats. While chocolate and vanilla have their timeless appeal, there's something uniquely invigorating about a dessert that captures the essence of summer itself: lemon ice cream. Bright, tangy, and wonderfully creamy, it's the perfect antidote to a hot day, offering a burst of sunshine in every spoonful. Forget store-bought versions; creating this vibrant delight at home is not only surprisingly simple but also infinitely more rewarding.
This comprehensive guide will walk you through an exceptional lemon ice cream recipe, building on a classic custard base to achieve unparalleled smoothness and flavor. We'll delve into the nuances of preparation, explore exciting variations, and share expert tips to ensure your homemade scoop is nothing short of perfection.
Why Homemade Lemon Ice Cream is a Must-Try
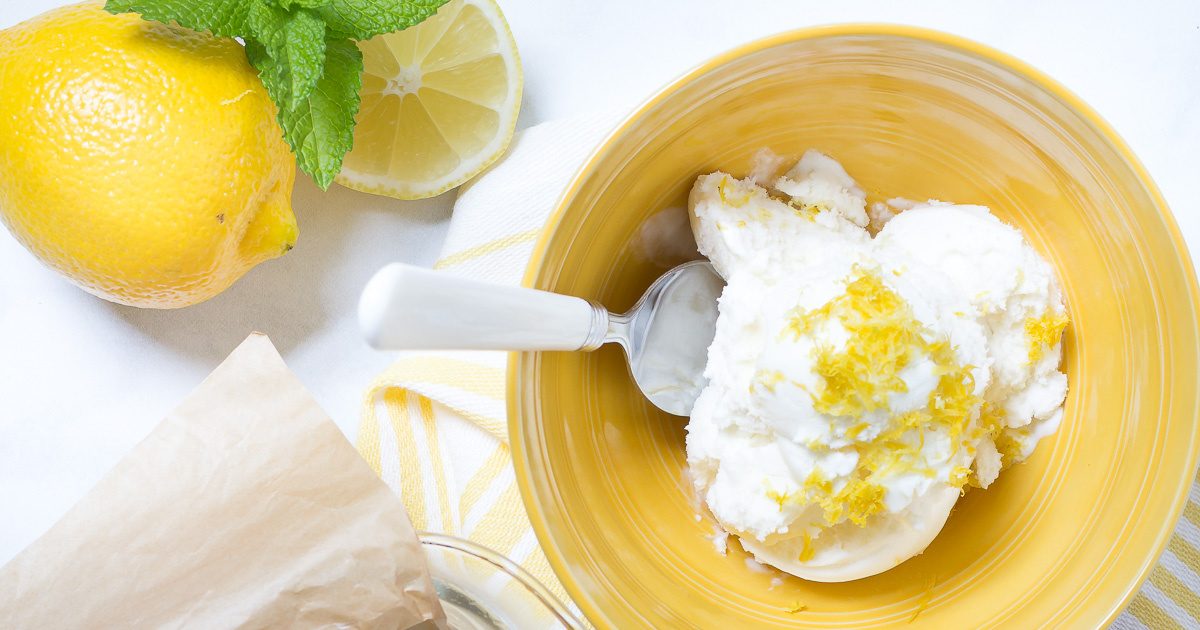
Imagine a dessert that's simultaneously rich and light, sweet and tart, all while delivering a powerful sensory punch. That's the magic of homemade lemon ice cream: tart, tangy & refreshing. Unlike many fruit-flavored ice creams that rely on extracts, this recipe harnesses the pure, unadulterated flavor of fresh lemons. The combination of lemon zest and juice provides a complex citrus profile that sings on the palate.
The secret to its luxurious texture lies in a traditional French-style custard base, enriched with egg yolks. This creates an ultra-creamy, almost silky consistency that melts beautifully in your mouth. While some recipes opt for a simpler approach without eggs, incorporating them elevates the ice cream to a gourmet level, making it a truly special treat for any occasion. Plus, the process itself is a delightful culinary adventure, transforming basic ingredients into something extraordinary right in your own kitchen.
Crafting the Perfect Lemon Ice Cream: Step-by-Step Guide
Making this exceptional lemon ice cream requires a bit of patience, but the steps are straightforward and the result is absolutely worth every moment. Here's how to create this refreshing summer staple:
Ingredients You'll Need:
- 2 cups heavy whipping cream
- 1 ⅛ cups white sugar (granulated sugar)
- 1 cup half-and-half cream (or whole milk for a slightly lighter option)
- 3 tablespoons freshly grated lemon zest (from about 3-4 medium lemons, or to taste)
- 5 large egg yolks
- ¾ cup fresh lemon juice (from about 3-4 medium lemons, or to taste)
Detailed Directions:
- Prepare Your Base: In a medium-sized saucepan, combine the heavy cream, sugar, half-and-half, and fresh lemon zest. Place the saucepan over low heat. Cook and stir continuously until the sugar has completely dissolved, which typically takes about 5 minutes. The mixture should just reach a gentle simmer, not a rolling boil. Once the sugar is dissolved, remove the saucepan from the heat, cover it, and let the mixture steep for 10 minutes. This crucial steeping step allows the lemon zest to infuse its vibrant oils into the cream, intensifying the overall lemon flavor.
- Temper the Egg Yolks: While the cream mixture is steeping, gently whisk the 5 large egg yolks in a separate medium bowl until they are light yellow and slightly frothy. After the steeping period, uncover the saucepan and return the cream mixture to a low simmer. Now, carefully temper the egg yolks: gradually whisk about 1 cup of the hot cream mixture into the beaten egg yolks, adding only a few tablespoons at a time. This slowly brings the temperature of the egg yolks up, preventing them from scrambling when they're added to the main pot. Continue whisking constantly during this process.
- Form the Custard: Once the egg yolk mixture is warm and well-combined, slowly pour it back into the remaining hot cream mixture in the saucepan. Continue to cook over low heat, stirring constantly with a wooden spoon or heat-resistant spatula. The mixture will gradually thicken and should be ready when it's able to coat the back of a spoon – meaning, if you run your finger across the spoon, it leaves a clear line. This usually takes 5 to 10 minutes. Do not let it boil, as this can curdle the eggs.
- Chill Thoroughly: Immediately transfer the cooked custard base to a large, clean bowl. Cover the bowl tightly with plastic wrap, pressing the wrap directly onto the surface of the custard to prevent a skin from forming. Refrigerate for at least 8 hours, or ideally overnight. Chilling is essential for the custard to properly set and for the flavors to deepen and meld. A well-chilled base ensures a smoother texture in the final ice cream.
- Add Lemon Juice and Churn: Once the base is thoroughly chilled, stir in the fresh lemon juice. Taste and adjust if you desire more tartness. Pour the mixture into a 4- to 5-quart ice cream maker and churn according to the manufacturer's directions. This typically takes 20-30 minutes, depending on your machine. The ice cream will have a soft-serve consistency at this stage.
- Ripen and Serve: Transfer the freshly churned ice cream to a lidded freezer-safe container. For the best flavor and firmer texture, freeze for an additional 4 hours to "ripen." This allows the ice cream to harden and for the flavors to fully develop. Serve chilled and enjoy!
Exciting Variations and Customizations
While the classic lemon ice cream recipe is a masterpiece on its own, there's always room to play and personalize. Here are some fantastic ideas to inspire your culinary creativity:
- Boost the Citrus: Don't limit yourself to just lemon! For a more complex citrus profile, try adding a tablespoon of grated orange or lime zest along with the lemon zest during the steeping phase. Grapefruit zest also offers an intriguing bitterness.
- Fruity Fusions: Replace half of the lemon juice with another fruit juice for a delightful blend. Pomegranate, mango, pineapple, peach, or even passion fruit juice can add wonderful layers of flavor. Imagine a lemon-raspberry swirl by gently folding in a homemade raspberry coulis after churning.
- Alternative Sweeteners: If you're looking for a different sweetness profile, consider swapping out some or all of the white sugar. Honey, golden syrup, maple syrup, or agave nectar can lend unique notes. Just be mindful that liquid sweeteners might slightly alter the freezing point and texture.
- Spicy & Herbal Touches: A tiny pinch of ground ginger or a few fresh mint leaves steeped with the zest can add an unexpected depth. For a sophisticated twist, a hint of lavender can be exquisite.
- Textural Add-ins: After churning, but before the final freeze, fold in some delicious extras. Crushed shortbread cookies, candied lemon peel, fresh berries, or even a swirl of lemon curd can provide delightful textural contrast and flavor bursts.
- No-Churn Option: If you don't own an ice cream maker, don't despair! You can still enjoy this incredible treat. Check out our No-Churn Lemon Ice Cream: Easy Summer Refreshment article for a fantastic alternative that delivers creamy results without special equipment.
Tips for the Perfect Scoop
- Freshness is Key: Always use fresh lemons for both the zest and juice. Bottled lemon juice simply won't yield the same vibrant, authentic flavor.
- Don't Overcook the Custard: Keep the heat low and stir constantly when cooking the custard. If it overheats, the egg yolks can scramble, resulting in a grainy texture. A good thermometer can help, aiming for around 170-175°F (77-79°C).
- Chill Thoroughly: This step cannot be stressed enough. A properly chilled base ensures that your ice cream freezes smoothly and doesn't become icy. Plan ahead and give it ample time in the fridge.
- Don't Overfill Your Machine: Follow your ice cream maker's instructions regarding the maximum fill line. Overfilling can lead to an inefficient churn and a less desirable texture.
- Ripening Time: While tempting to eat immediately after churning, the ripening period in the freezer (4+ hours) is vital. It allows the ice cream to firm up to a scoopable consistency and for all the flavors to fully mature.
- Storage: Store your homemade lemon ice cream in an airtight, freezer-safe container. For best quality, consume within 1-2 weeks.
Conclusion
There's an undeniable joy in creating something delicious from scratch, and this easy lemon ice cream recipe is a testament to that. With its bright, tangy flavor and incredibly creamy texture, it's more than just a dessert; it's a celebration of summer, a refreshing escape on a hot day, and a delightful treat that will impress family and friends alike. So, gather your ingredients, follow these simple steps, and prepare to embark on a delicious journey into the world of homemade lemon ice cream. Your taste buds will thank you!
